


Upgrading your home heating system is a significant step towards improving energy efficiency and ensuring your property stays warm during the colder months. While the prospect of a new, reliable system is exciting, the actual day of the fitting can be a bit daunting for many homeowners. Proper preparation is the best way to ensure the process runs smoothly and quickly.
A little bit of foresight goes a long way in helping your engineer complete the work with minimal disruption to your daily routine. By taking a few simple steps before the team arrives, you’ll help create a safe and efficient working environment. Read ahead to discover the best ways to get your property ready for a seamless transition to your new heating system.
Step One: Clear the Work Area and Access Paths
The first thing you should do is ensure the area around your current boiler is completely clear. Engineers need ample space to move around, use their tools, and position the new unit. If your boiler is located in a kitchen cupboard, under the stairs, or in a loft, you’ll need to remove any stored items, cleaning supplies, or boxes that might be in the way.
It’s also helpful to think about the path the engineers will take from their van to the installation site. They’ll be carrying heavy equipment and old parts, so it’s important to move any furniture, rugs, or decorative items that could pose a trip hazard.
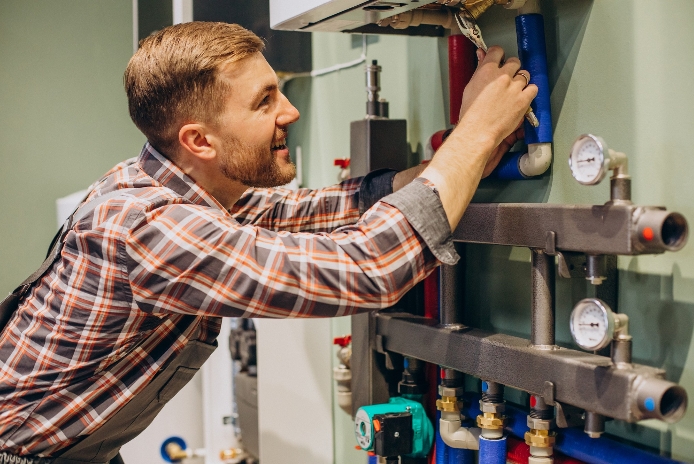
If you’re looking for a fast and professional installation service, iHeat boiler installation helps ensure the job is completed efficiently, with experienced Gas Safe engineers, minimal disruption to your home, and clear, upfront pricing from the start.
Step Two: Protect Your Flooring and Furniture
Boiler replacements can be messy work, involving heavy components and sometimes a bit of water or dust. While most professional installers will bring their own dust sheets, it’s always a good idea to add an extra layer of protection to your carpets and hard floors. You can use old sheets or specialised floor protection film to cover high-traffic areas.
Don’t forget to cover nearby furniture or electronic equipment with plastic sheeting or blankets. This prevents fine dust from settling on your belongings while the engineer is drilling or removing old pipework. Taking these precautions saves you a lot of cleaning time once the job is finished and ensures your home stays in top condition.
Step Three: Arrange for Water and Power Access
Your engineer will need access to your mains water supply and electricity throughout the day. It’s a good idea to locate your stopcock beforehand just in case it needs to be turned off quickly. Make sure the area around your fuse box is also accessible, as the installer will likely need to isolate the power to the heating system during the process.
You should also keep in mind that you’ll be without hot water and heating for the duration of the installation. If you have children or elderly residents in the home, you might want to plan for a few hours where they can stay warm elsewhere. It’s often helpful to fill a few kettles or thermoses with water before the supply is turned off.
The Takeaway
Taking the time to prep your home will massively help the engineer, reduce the installation time, and give you peace of mind that the job will be done correctly. When the workspace is tidy and accessible, the technical team can focus entirely on the precision of the fitting. You’ll find that the day passes much more quickly when everything is organised and ready to go.
Once the work is complete, your engineer will walk you through the new controls and explain how to maintain the system. You’ll soon be enjoying the benefits of a modern, efficient boiler that provides consistent warmth and lower energy bills. It’s an investment that truly pays off in comfort and reliability for years to come.